Uploading Website Files Using File Manager:
-
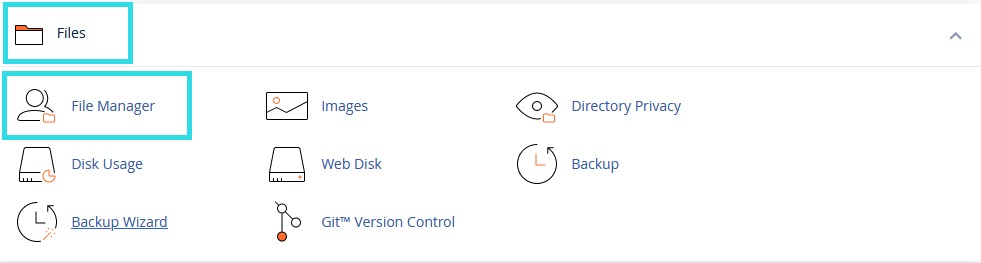
Accessing File Manager:
- Begin by logging into your cPanel account.
- Navigate to the "Files" section and select "File Manager."
-
Selecting the Target Folder:
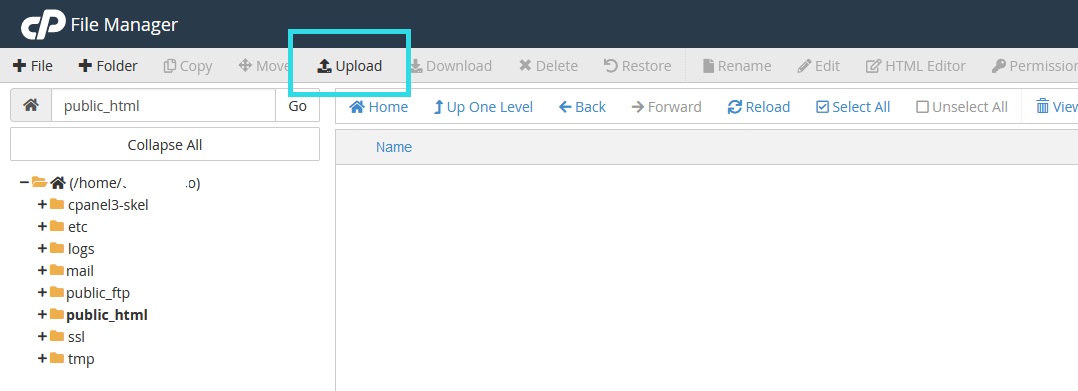
- Choose the folder where you want to upload the files. It is often the directory named "public_html."

-
Uploading Files:
- Click on "Upload" in the top toolbar.
- Press "Choose File" to select the files you want to upload.
- Wait for the upload process to complete.
-
Checking Uploaded Files:
- After the upload is complete, navigate to the targeted folder and verify the presence of the uploaded files.
-
Using File Manager to Manage Files:
- You can utilize File Manager to edit, move, delete, and perform various other operations on the files.
Important Note: You cannot make any modifications or deletions outside the "public_html" folder, as it may cause the website to malfunction. Ensure that your website content is placed only within the "public_html" folder.